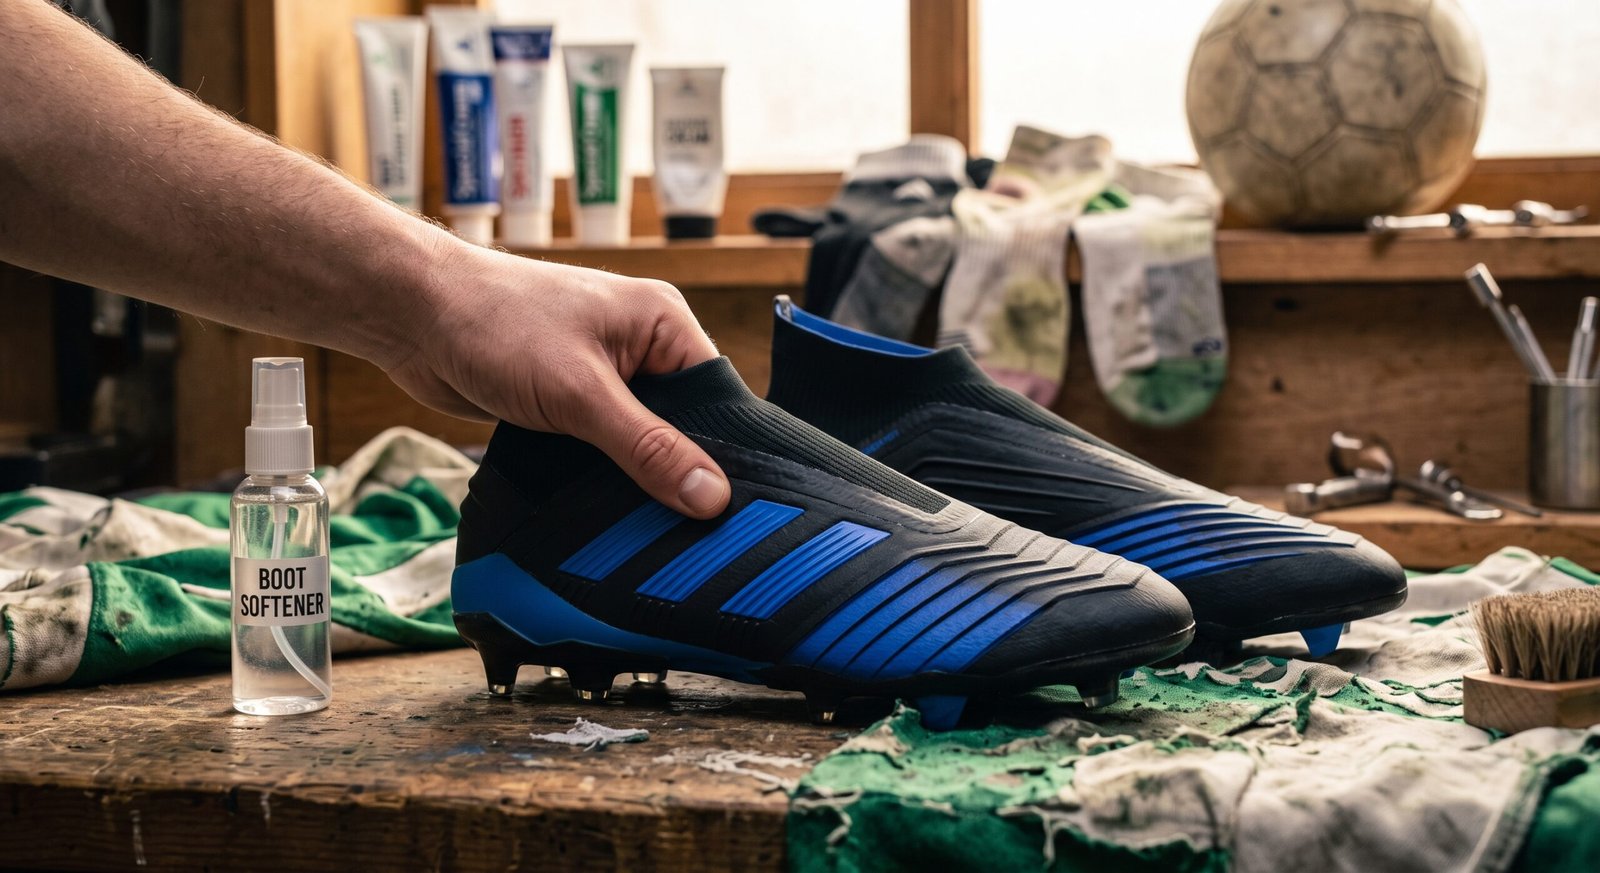
How to Break in Football Boots Fast: A Step-by-Step Guide to Stop Blisters
Nothing beats unboxing a fresh pair of football boots. The sleek upper, sharp studs, and crisp silhouette look ready for matchday. But taking them straight from the box onto a full 90-minute competitive pitch is the fastest route to crippling heel blisters, cramped toes, and arched soleplates that ruin your game.
Modern football boots—whether crafted from premium K-leather or engineered synthetic knit like Nike’s Flyknit, adidas’s Primeknit, or Puma’s Ultraweave—require an intentional break-in process.
In this comprehensive guide, you’ll learn how to break in football boots fast, the science behind softening upper materials safely, and critical mistakes you must avoid to keep your footwear warranty intact.
Why Football Boots Cause Blisters Early On
Boots feel stiff right out of the box because factory materials are pressed, bonded, and heat-treated for structural stability during shipping and shelf display.
When you play, your feet undergo multi-directional torque: sudden decelerations, cutting angles, sprint bursts, and striking forces. If the upper does not flex in harmony with your foot’s natural articulation points:
- Friction builds up against the calcaneus (heel bone).
- Pressure spots compress the pinky toe and first metatarsal joint.
- Rigid soleplates resist arch flexion, triggering midfoot arch fatigue.
Breaking in your boots simply means molding the upper and outsole around your foot’s exact contours before exposing them to high-friction play.
5 Proven Steps to Break in Football Boots Fast
Follow this battle-tested protocol across 3 to 5 days to take any boot from rigid to game-ready.
1. The Living Room Wear-In (Day 1)
Before stepping on grass or turf, wear your new boots indoors around your house.
- Wear your match socks and grip socks: Never break boots in barefoot or with thin cotton ankle socks. Wear the exact sock thickness you wear on matchday.
- Duration: 30 to 45 minutes while sitting, walking on carpet, or doing light mobility stretches.
- Why it works: Body heat softens both synthetic resins and natural leather without exposing the boot to dirt, moisture, or sudden twisting forces.
2. The Controlled Warm Water Technique (Best for Leather & Mixed Uppers)
The warm water method is a classic locker-room technique endorsed by pros and kit managers worldwide. Note: Water should be comfortably warm, never boiling.
- Lace up snugly: Put on your match socks, step into the boots, and tie the laces with your regular playing tension.
- Submerge or pour: Step into a shallow bucket or bathtub filled with warm water (around $35^\circ\text{C}$ to $40^\circ\text{C}$ / $95^\circ\text{F}$ to $104^\circ\text{F}$) up to your ankles, or pour warm water slowly over the forefoot and midfoot for 2 to 3 minutes.
- Walk lightly: Step out onto towels and walk around for 20 to 30 minutes while the boots are damp.
- Dry naturally: Remove the boots, stuff them with dry newspaper to retain the shape, and allow them to air-dry away from direct radiators or sunlight.
Caution: Do not use this method on ultra-light synthetic boots held together predominantly by structural heat-welded films, as excessive hot water can weaken adhesives.
3. Progressive Training Sessions (Days 2 & 3)
Never jump straight into a high-stakes match. Introduce the boots across progressive training drills:
- Session 1 (Light Jogging & Passing): Wear the new boots for the warm-up (15–20 minutes). Pack an old, broken-in pair in your kit bag. As soon as you feel hot spots or pinching, switch immediately.
- Session 2 (Short-Sided Games & Shooting): Wear the boots through light technical drills and moderate shooting exercises (30–40 minutes). This teaches the soleplate and upper where your strike zone naturally bends.
4. Apply Targeted Leather Balsam or Petroleum Jelly
If your boots are genuine leather (kangaroo leather, calfskin, or full-grain leather):
- Apply a dime-sized amount of leather conditioner, dubbin, or mild petroleum jelly along high-friction crease points: the toe box flex zones and the heel counter stitch line.
- The oils penetrate the fibrous collagen layer of the leather, dramatically accelerating suppleness and preventing premature cracking.
5. Double-Sock or Blister-Shield the Critical Zones
Friction occurs when your foot moves inside the boot rather than with it. During the first two outdoor sessions:
- Apply anti-friction zinc oxide tape or hydrocolloid blister plasters to your heels and outer toes before you lace up.
- Alternatively, wear thin anti-blister liner socks underneath your team socks to absorb friction sheer.
Breaking In Synthetic vs. Leather Boots: What’s the Difference?
| Feature | Natural Leather (K-Leather / Calfskin) | Modern Synthetics & Knit (Flyknit, Matrixx) |
| Material Stretch | High (molds 1/4 to 1/2 size to your foot shape) | Low to None (holds precise factory dimensions) |
| Optimal Method | Warm water dip + leather conditioner | Ambient body heat + gradual training wear |
| Break-in Time | Rapid (1–3 light sessions) | Moderate (3–5 training sessions) |
| Risk Factor | Over-stretching if soaked in scorching water | Delamination if exposed to direct artificial heat |
Crucial rule for synthetic boots: Modern synthetics do not stretch longitudinally. If your toes touch the front edge painfully in the shop, no amount of break-in will fix the size. Synthetics only loosen across width and lateral flex points.
4 Costly Mistakes to Avoid
- The Boiling Water Myth: Pouring boiling water directly from a kettle melts soleplate glue, delaminates synthetic coatings, and voids the manufacturer warranty instantly.
- Using the Microwave or Oven: A viral trend suggests heating boots in an oven. High dry heat compromises the internal heel counter plastic, deforms the EVA foam insole, and poses a fire risk.
- Leaving Boots in a Wet Kit Bag: After a wet break-in session, never leave damp boots zipped inside your gear bag. Mold breeds, leather hardens stiff as cardboard, and odor sets into the lining.
- Powering Through the Pain: Playing through active blisters forces you to alter your running gait, elevating the risk of calf strains, plantar fasciitis, and ankle sprains.
Quick-Glance Break-In Timeline
- Day 1: 45 minutes indoor walking with match socks.
- Day 2: 20-minute light warm-up and passing drills on grass; swap to back-up pair.
- Day 3: 40 minutes of positional play and shooting drills.
- Day 4: Full 60-minute training session.
- Day 5: Matchday ready.
Final Thoughts
Patience during the first 72 hours with a new pair of football boots pays dividends all season long. By combining ambient indoor wear, controlled warm-water shaping, and progressive pitch sessions, you protect your feet from painful blisters while molding your boots into an extension of your touch.
Lace them correctly, protect friction points early, and step onto the pitch with total confidence.
Leave a Reply