Mid-Block Football Tactics Explained: Modern Setup, Triggers, and Counter-Attacking Mechanics
For years, the defensive conversation in modern football was treated like a binary choice: you either choked opponents high up the pitch with an aggressive Gegenpress, or you retreated into your own penalty box and parked the bus inside a stubborn low block.
Yet, over recent seasons, top-tier coaches across the Premier League, Champions League, and European domestic leagues have increasingly converged on a middle ground: the mid-block.
From title contenders balancing intense autumn fixture schedules to underdog sides seeking to frustrate ball-dominant giants, mid-block football tactics have become football’s most dependable defensive blueprint. Here is an in-depth breakdown of how the mid-block operates, why managers favor it over the low block, and how teams use it as an attacking weapon.
What Is a Mid-Block in Football?
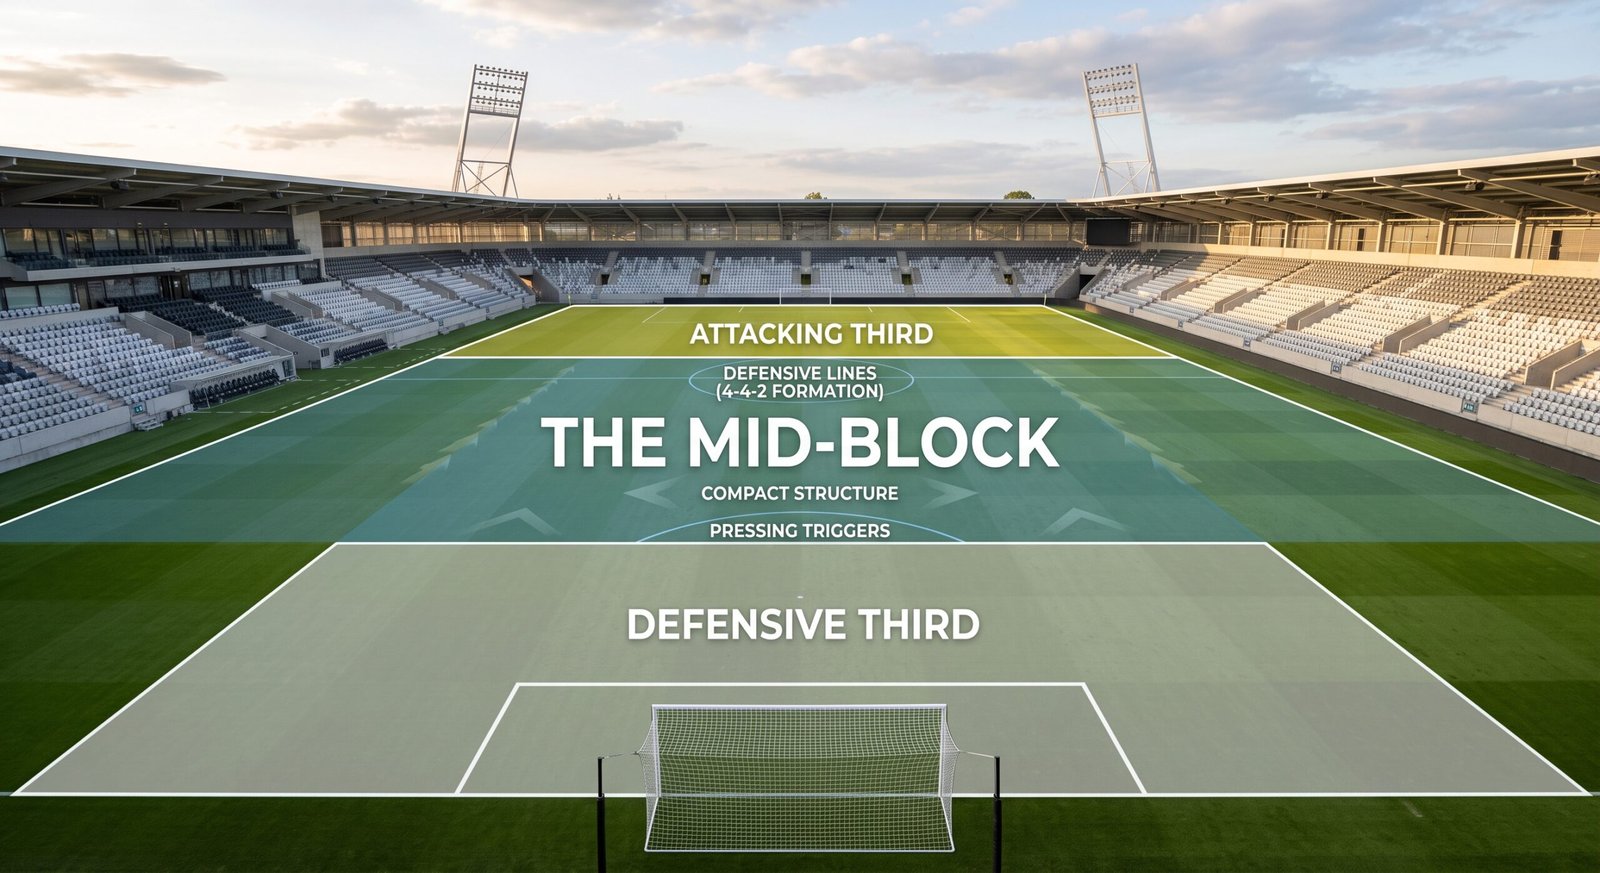
A mid-block is an out-of-possession tactical system where a team structures its defensive and midfield lines between the edge of its own defensive third and the opposition’s midfield zone.
Unlike a high press, a mid-block team concedes possession in the opponent’s first build-up phase (between center-backs and the goalkeeper). Unlike a low block, the defensive line does not collapse inside its own 18-yard box. Instead, the entire team contracts into a compact 25-to-30-meter vertical unit positioned around the center circle.
The core objective is simple: deny central penetration, force the ball wide, and trap the opponent in secondary passing lanes.
[ Opposition Half ]
      CB ------- CB          <-- Opponents have free initial circulation
---------------------------
      Mid-Block Line 1 (Strikers / False 9)  [Trigger Zone]
      Mid-Block Line 2 (Compact Midfield 4 or 5)
---------------------------
      Mid-Block Line 3 (High Defensive Line - 30-35m from goal)
[ Defensive Third ]
           GK
Mid-Block vs. Low Block: Key Tactical Differences
While both systems emphasize defensive compactness, their risk-to-reward profiles are fundamentally different:
| Tactical Feature | Mid-Block | Low Block |
| Pitch Positioning | Middle third (35m–55m from goal) | Defensive third (inside or near the box) |
| Distance to Opponent Goal | Medium; allows direct counter-attacks | Large; requires sustained running or target-man hold-up |
| Box Exposure | Low; keeps deflections and rebounds far from goal | High; vulnerable to deflected shots, handballs, set pieces |
| Energy Consumption | Moderate; controlled shifting and zonal sprints | Low to Moderate; physically grueling aerial and duel demands |
| Vulnerability | Balls over the top into space behind the backline | Sustained pressure, cutbacks, and conceded corners |
A low block invites opposing full-backs and playmakers within 25 meters of goal, raising the probability of conceding fouls in dangerous areas or leaking goals via deflections. The mid-block moves that pressure 30 meters higher up the pitch, shielding the penalty box without burning the cardiovascular reserves required by a 90-minute high press.
How the Mid-Block Works: Structure and Spacing
To run an effective mid-block, managers enforce strict positional rules based on three interconnected layers:
1. The Screen Line (Forwards)
The first line—typically two forwards in a 4-4-2 or a single striker supported by wide wingers in a 4-3-3/4-5-1—does not sprint to win the ball from opposing center-backs. Instead, their job is shadow-marking. They position their bodies to cut off passing angles into the opponent’s deep central midfielders (the “single pivot” or “double pivot”).
2. The Engine Room (Midfield Line)
Positioned roughly 8 to 12 meters behind the front line, the midfield unit operates as a shifting screen. They remain narrow, rarely straying wider than the penalty box edges while the ball is central. Their goal is to plug half-spaces and make direct vertical passes into the opponent’s attacking midfielders mathematically impossible.
3. The Controlled Backline (Defenders)
The defensive line sits approximately 30 to 35 meters out from their own goal line. Center-backs remain alert to stepped-up offside traps, ensuring that any chipped ball into the space behind is either caught offside or swept up by an alert, high-starting goalkeeper.
Identifying Mid-Block Pressing Triggers
A passive mid-block that never tackles is easy to play around. Elite teams turn a passive block into an active ambush using specific pressing triggers:
- The Backward Pass: When an opposing central midfielder receives the ball facing their own goal and plays it back to a center-back, the mid-block shifts forward as a cohesive unit by 5–10 yards, squeezing the pitch.
- The Slow, Lofted Lateral Ball: A slow horizontal pass between opposing center-backs gives wide players enough flight time to close down passing options before the receiver controls the ball.
- The Wide Touchline Trap: Teams intentionally leave the pass to the opponent’s full-back open. Once the ball travels wide, the touchline acts as an extra defender. The winger, nearest central midfielder, and advancing full-back collapse in a triangle to isolate the ball-carrier.
- Heavy or Bouncing Touches: Any technical error in the central third initiates an immediate collective swarm from multiple angles.
From Turnover to Goal: The Mid-Block Transition
The mid-block is not merely a defensive tactic—it is one of modern football’s most potent offensive launchpads.
When a team wins possession in a low block, their attackers are often 70 to 80 meters away from the opponent’s net, allowing the opposition ample time to recover defensive shapes. Conversely, high-pressing turnovers often occur in congested, chaotic final thirds where quick shots are easily blocked.
Winning the ball in the middle third strikes the ideal tactical balance:
- Unstructured Opponents: The opponent’s full-backs have already committed forward into attacking positions, leaving vacant acreage down the channels.
- Separated Center-Backs: Opposing center-backs are split wide to support possession, creating massive gaps through the center.
- Direct Route to Goal: A turnover won 45 meters from goal requires just two or three vertical passes or a progressive 15-yard carry to engineer a high-quality shot (0.35+ xG opportunity).
Common Formations Used for Mid-Blocks
- 4-4-2 / 4-2-2-2: The gold standard for mid-block defending. Two banks of four provide balanced pitch coverage, eliminate gaps between lines, and give two strikers the leverage needed to trap opposition center-backs.
- 5-3-2 / 3-5-2: Delivers immense central congestion. The back five neutralizes opposition crosses, while the central midfield trio shifts side-to-side to protect the half-spaces.
- 4-2-3-1 transitioning to 4-4-1-1: Offers fluidity, allowing the attacking midfielder to drop onto the opposition defensive anchor before springing forward on the counter.
The Verdict
As fixture density increases and analytical modeling penalizes low-percentage defensive risks, mid-block football tactics have evolved into the premier tool for tactical balance. By denying high-value central spaces without exhausting their squad’s physical engine, modern managers prove that control over the pitch isn’t determined by possession percentage—it’s dictated by controlling where the opponent is allowed to play.
Leave a Reply